Administrative

Showing posts with label Leg Assembly. Show all posts

Saturday, July 19, 2014

Sanding With A Working Dremel

Now that we have a working rotary tool we are able to get the final touches on a few different parts.  Through out this week i was able to do some sanding on the legs in order to get the layers of wood and flush as possible.  During the original manufacturing process there were a few areas that once lined up did not match the rest of the legs.  Due to tracing and then cutting out the legs with a vertical band-saw the tolerances were less than adequate...  With this issue now fixed the legs can no be "skined" with styrene similar to what was done with the frame.

Finished Legs

Fixed Area of Legs


~Jacob

Friday, April 18, 2014

Good Friday Meeting

Meeting # Who knows
April 18th 2014
Duration: 9:00AM-3:30PM
Attendance: Jacob, Nate
Happy belated Easter! Had a very productive Good Friday. Started off with a trip to Walmart to pick up some groceries and supplies. Notable tasks were complete during this meeting: -Fixing, re-gluing the skin to the frame. -Second coat of paint on silver layer of helmet. -Heat treated silver layer of helmet to fit onto the bottom, blue layer. -Almost completely constructed the leg assemblies. -Fixed door to fix into body. We still have a lot left to do, but hopefully we can have another productive meeting soon and be able to have something to show to Marquette on Star Wars Day (May 4th). ~Nate

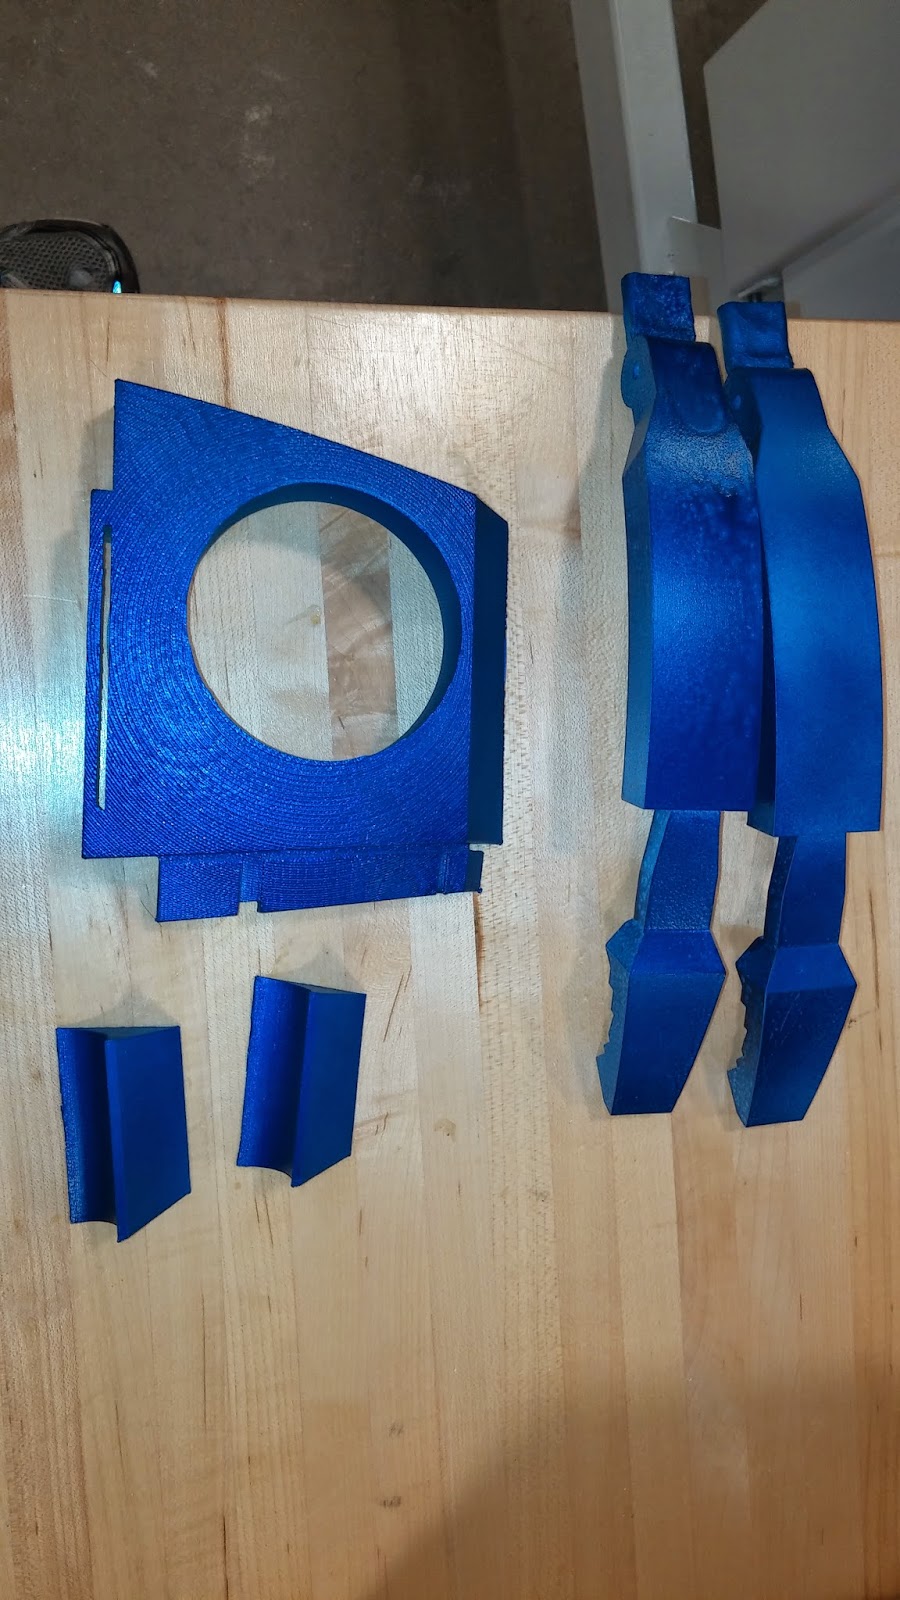
Cad Parts Painted
Underdome with cut out marks


shoulder hubs
Dome Ring


Leg 2
Leg 1
Fixing top corners of skins

Sunday, April 6, 2014

Weekend Meeting

Meeting # Who knows
April 5th 2014
Duration:  9:00AM-4:00PM
Attendance: Jacob, Nate

got a lot of work done today.  Starting out with a quick run to home depot with Nate we were able to pick up another sheet of 1/2" birch plywood to attempt to finish off the legs as well as some paints and misc. hardware for the legs.

a few notable things that got done this meeting

* Outer and Inner most parts of legs machined
* Inner square for legs glued
* Should hubs machined and glued together (made them 1" by using two 1/2" pieces instead of 3/4" due to not wanting to spend another $20 on a sheet of birch wood.)
* Skins cut out, sanded and test fit our 3d parts in some places
*Front Skins Attached for now (became a much bigger mess that i thought it would)

As for the skins i am very happy i did not attach the back skins yet because i realized i was jumping the gun and still need to drill my home for the pipe to fit through the body of R2.

~Jacob
Glue we used to attach skins
Dome Ring made from 1/2" birch
in progress

Shoulders gluing in place.
Inner part of leg glued into place

Skins being cut out by Nate
Make shift way to attach skins and
hold them in place


Friday, March 14, 2014

Over Spring Break

Dates: March 10th-14th  (8:00AM-6:00PM Daily)

I have been putting a lot of hours into the project over our spring break.  Over the past 5 days i have put close to 40 hours into working with r2d2.  Some of the most notable progress was installing the back door or r2, finishing off the legs and prepping them to be skinned with styrene, taking the gas pipe to the lathe to make sure both pieces fit together as well as counter sinking the dome (that i did not do earlier) and finally finishing off that piece.  Phew...

~Jacob

Gas pipes fitted in one another
Frame with door added in


gas pipes seperated

Saturday, February 8, 2014

A Lot of Work Done!

After finally being able to get our group together all at once for a meeting we actually got a lot of work done for once.  Fixing a few spots on the top dome, painting the first coat of pain on the under dome, cutting off all the little tabs from the top dome as well as cutting out the pieces needed for the first leg!  Thanks to bob taking the time to paint and Nate helping with the mechanical aspects of this meeting, this was by-far the post productive 120 minutes we have spent.

~Jacob

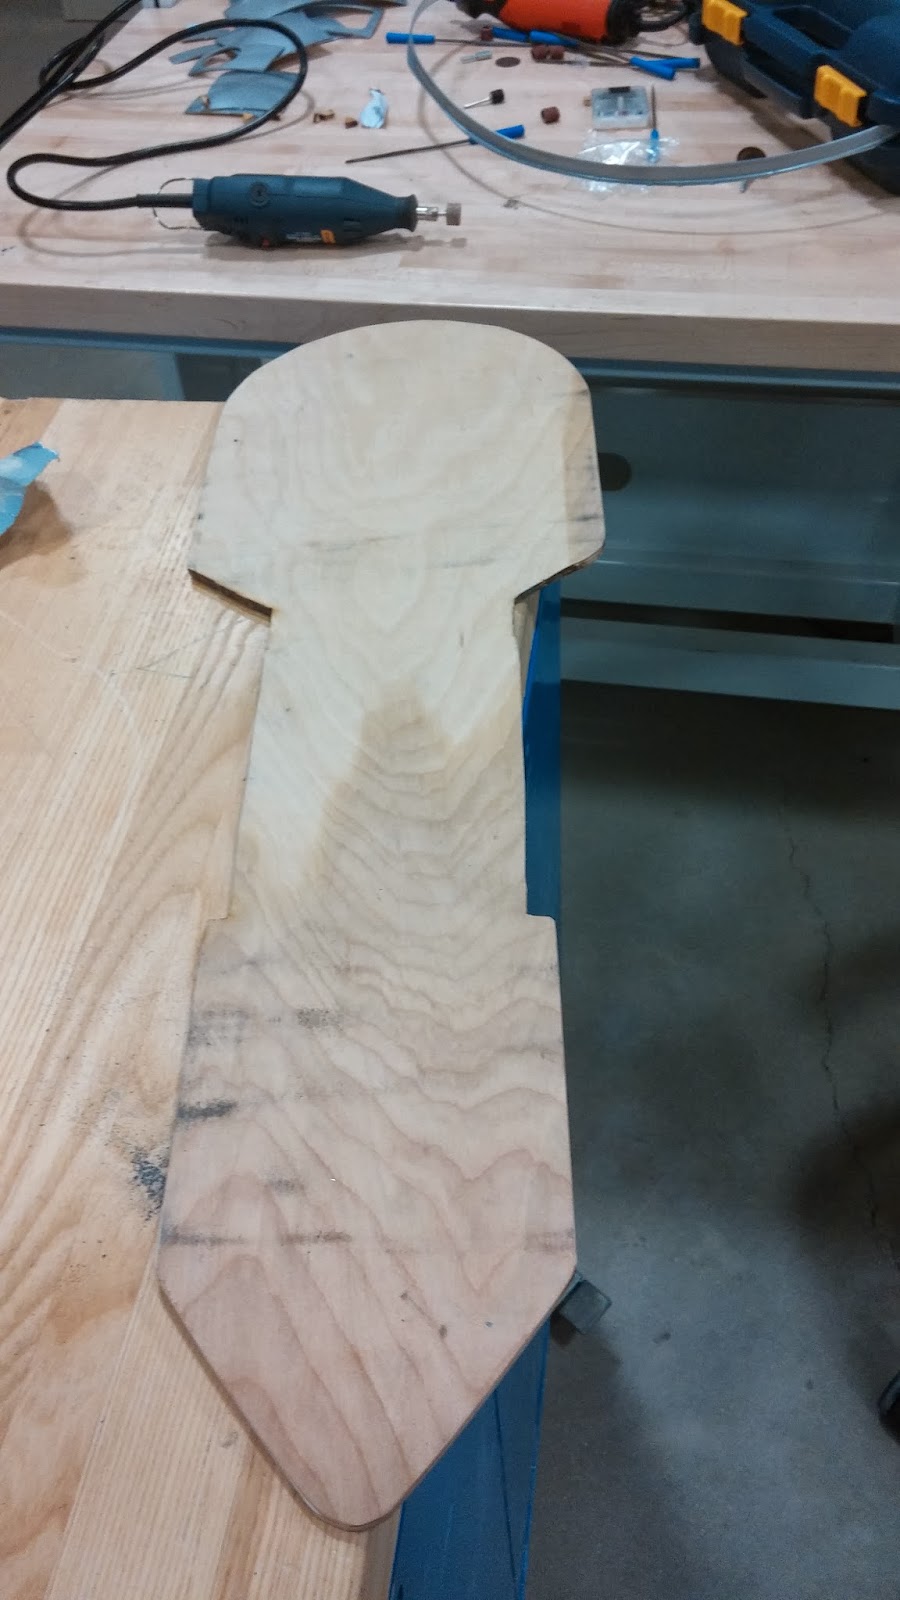
Leg Template out of 1/4" birch

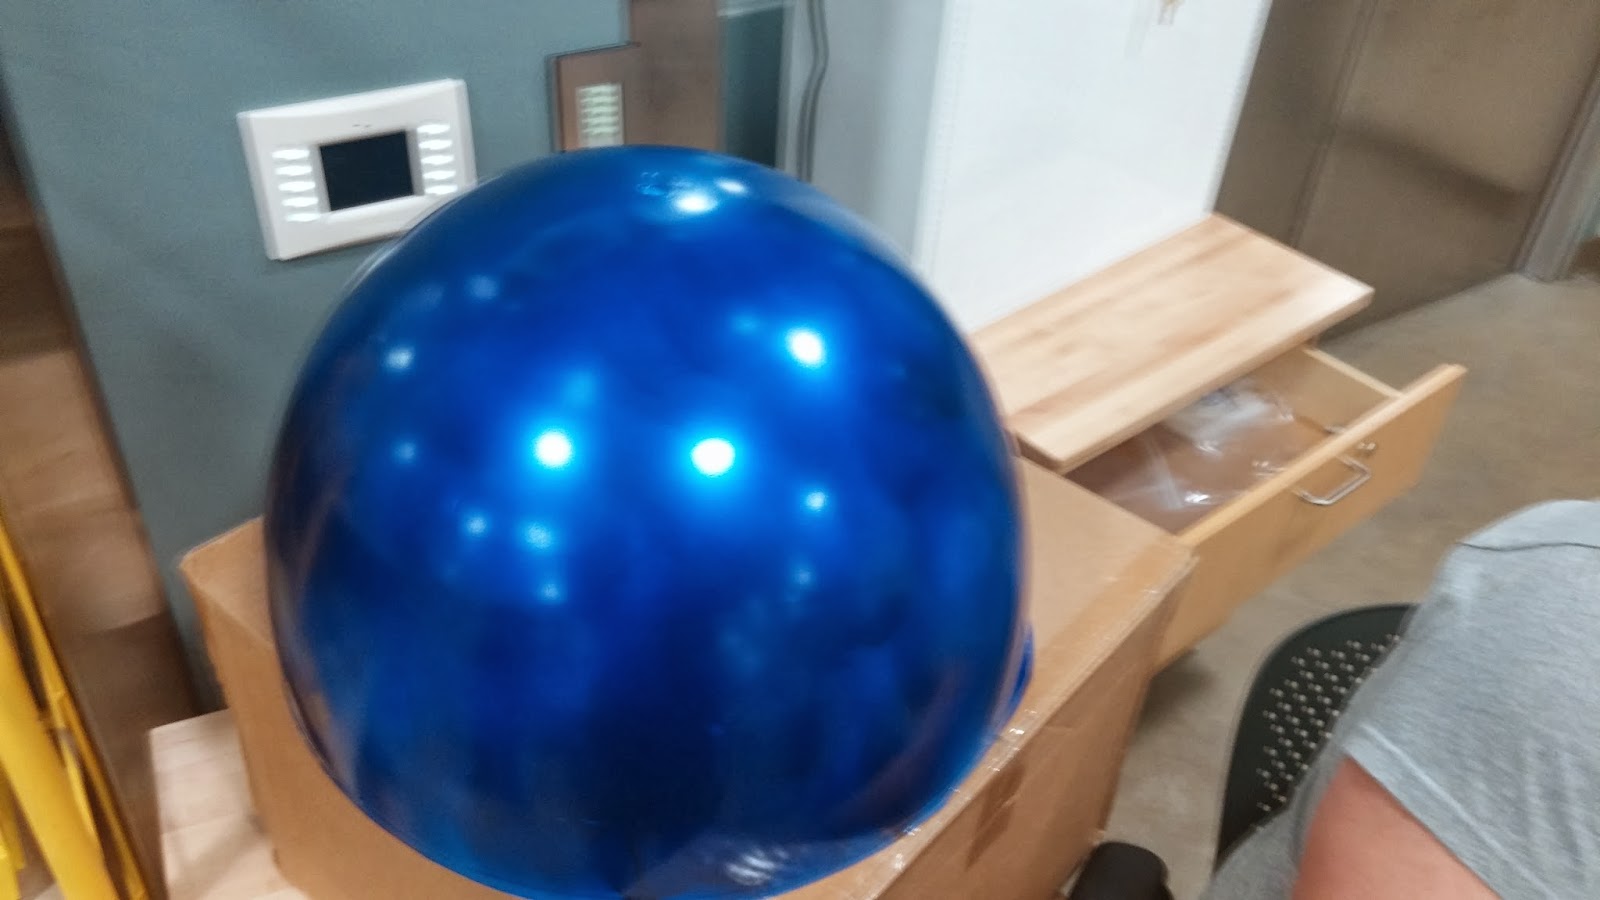
Painted Underdome

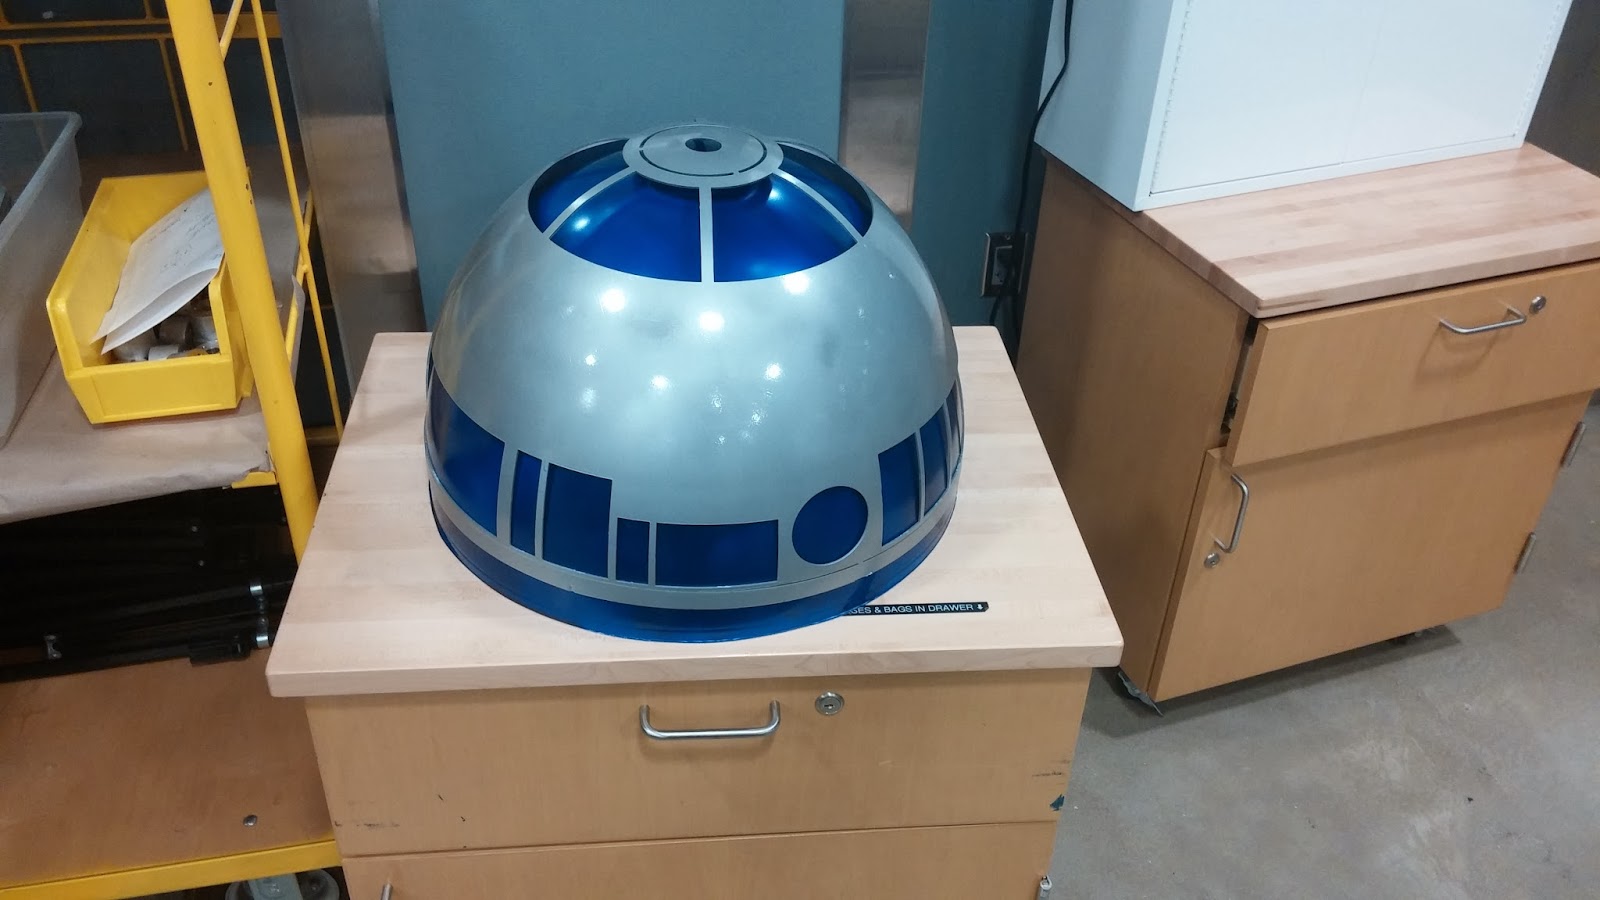
Un-Heatfitted Domes

Saturday, December 21, 2013

After a long break....


After a long break, i finally had a chance to get a bit more work done on R2.  During this time i focused mainly on the leg assembly.  I started out by taking the blueprints provided through the Astromech R2D2 Builders Club and printed them off on 2 banner sized posters at my local office max.  Carefully measuring each dimension i was able to get the two pieces to line up perfectly!  Once i had this done i used carbon copy paper to transfer the blueprints onto some poster board and later on to a piece of 1/4th " birch plywood to use as a template later on.  Due to having a bit of a time constraint when i got my birch wood after going to multiple Home Depots and Lowes' to find decent pieces of wood... i only had time to cut each piece down to size for easy transport.  While building the legs i plan to follow the process laid out by Victor Franco.


~Jacob